How To Level Ground for Paving: Achieve a Smooth and Lasting Finish
Proper ground leveling is the foundation of any successful paving project. Whether you're installing a new driveway or refreshing your existing pavement, understanding how to level ground for paving is essential for achieving professional results. After decades of serving Bay Area communities, Portillo's Paving Co. knows that property owners who take the time to prepare the ground end up with surfaces that last longer than those who skip this critical step.
Why Proper Ground Leveling Matters for Your Paving Project

Ground preparation directly impacts your pavement's longevity. When you skip proper leveling techniques, you're setting yourself up for premature cracking, settling, and water damage. These issues typically surface within the first few years, requiring expensive repairs or a complete replacement.
Proper ground leveling ensures adequate drainage, prevents settling, and creates a stable foundation that can handle vehicle weight and weather changes. The Bay Area's diverse terrain, from clay soils to hillside properties, demands careful attention to ground preparation to achieve lasting results.
Essential Tools and Materials You'll Need
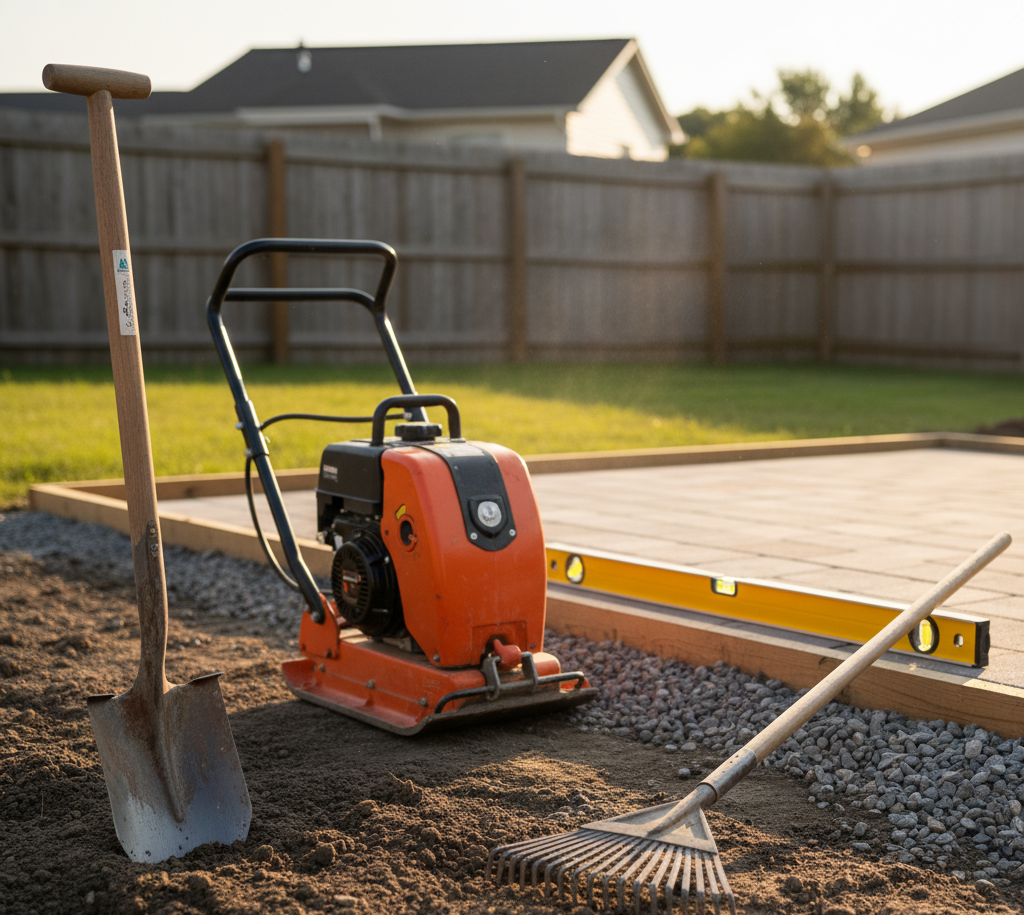
Before learning how to level the ground for paving, gather the right equipment.
Tools:
- Shovel or excavator for digging
- Plate compactor for soil compaction
- Rake for grading
- Level to check your work
- Stakes with string lines for reference points
Materials:
- Gravel base material
- Sand for fine-tuning
- Crushed gravel or approved base rock
Consider renting heavy equipment like plate compactors or small excavators for larger projects. The rental cost is often worth it since specialized equipment saves time and leads to better compaction than hand tamping.
Step-by-Step Guide To Level Ground for Paving
Proper ground preparation involves three critical phases.
Step 1: Site Assessment and Excavation
Prepare the site by marking the paving area and identifying drainage patterns. Remove existing vegetation, debris, and loose soil until you reach firm, compacted soil. Excavate to the proper depth—typically 6 to 8 inches for driveways, depending on soil conditions and the expected load.
Check for utilities before digging and ensure your excavation facilitates proper water runoff away from structures. The finished surface should slope away from buildings, about a quarter-inch drop for every foot of distance.
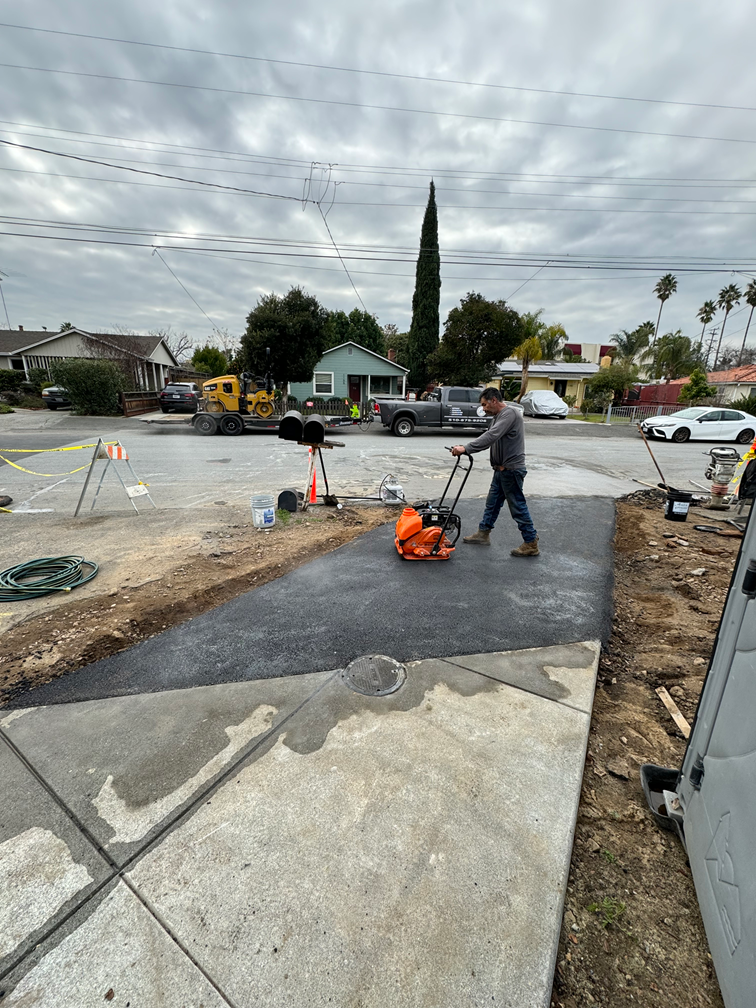
Step 2: Base Preparation and Compaction
Install your base material in 2 to 3-inch lifts, compacting each layer thoroughly. Proper compaction is crucial for ground stability. Each pass with the plate compactor should overlap the previous pass by several inches.
Use crushed gravel or approved base rock, avoiding rounded materials that don't interlock well. Moisture affects compaction, so lightly dampen dry materials. Avoid overwatering since it can lead to mud and poor compaction.
Step 3: Final Grading and Quality Checks
Use a rake and screed board to create the final grade, ensuring water flows away from buildings. Check your work frequently with a level and string lines to ensure consistent elevation.
Walk over the entire area to identify soft spots that need additional compaction. A properly prepared base should feel firm underfoot and show minimal deflection when walked on.
Pro Tips for a Smooth, Long-Lasting Finish

Follow these professional techniques for exceptional results:
- Compact base material when slightly moist, not dry or soaking wet.
- Make multiple passes with the plate compactor, changing direction each time.
- Test compaction by walking on the base. It shouldn't give or shift.
- Maintain a consistent drainage slope throughout the entire surface.
- Use string lines as elevation guides to avoid high and low spots.
- Check for soft spots by probing with a steel rod before final grading.
- Allow extra time for proper compaction. Rushing this step causes future problems.
Bay Area Challenges and When to Call Professionals

In the Bay Area, preparing the ground for paving may come with certain challenges. Clay soils in areas like Oakland and Richmond expand and contract with moisture, requiring specialized base preparation techniques and, in some cases, soil stabilization additives.
Hillside properties need careful drainage and may require retaining walls or special grading techniques. If you encounter groundwater, extensive clay, or complex drainage issues, seek professional expertise. Aside from these complications, you should contact knowledgeable contractors if you notice standing water that refuses to drain, soil that won't compact properly, or slopes exceeding 10%. Experienced contractors like Portillo’s have the equipment and knowledge to handle these challenging conditions.
Contact Portillo’s Paving Co for Results That Last
Good ground preparation sets your pavement up for long-term success, but sometimes a project needs more than DIY tools can handle. Portillo’s Paving Co. has the experience, equipment, and local knowledge to ensure your pavement performs for years.
Contact us today for expert help with your paving project.