
How To Do Exposed Aggregate Concrete Without Costly Mistakes
Exposed aggregate concrete is the perfect blend of durability and aesthetics for homeowners looking to upgrade their outdoor spaces. Learning how to do exposed aggregate concrete properly requires understanding the technical process and the common traps that catch inexperienced installers off guard. With proper preparation and timing, you can achieve professional-looking results while avoiding mistakes that typically cost DIYers hundreds or even thousands in repairs.
What Is Exposed Aggregate Concrete and Why Choose It?
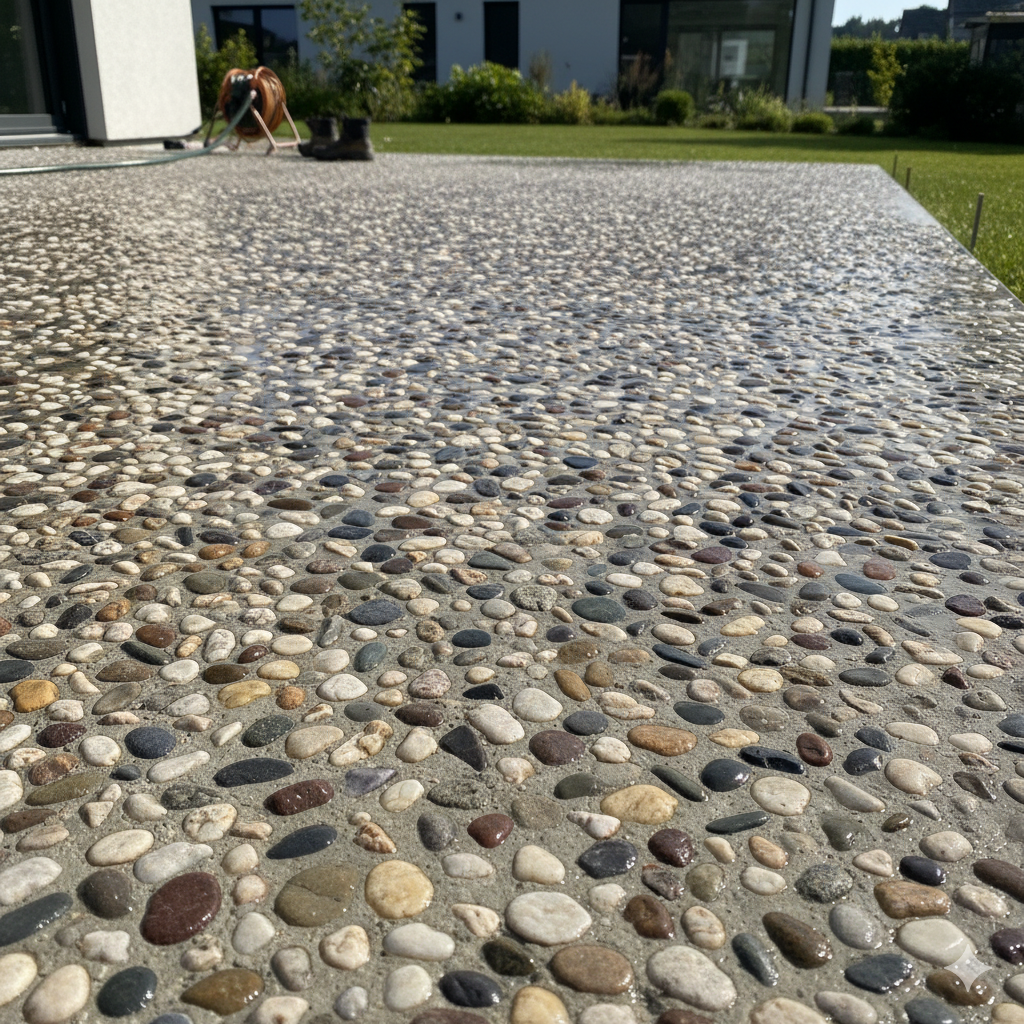
Exposed aggregate is a decorative concrete finish that reveals the natural beauty of stones, pebbles, and other aggregate materials embedded within the concrete surface. This technique creates a textured, slip-resistant surface that's functional and visually appealing.
Unlike plain concrete, exposed aggregate surfaces offer superior traction, making them ideal for driveways, pool decks, and walkways. The natural stone appearance complements various architectural styles while providing excellent durability against Bay Area weather. Popular applications include residential driveways, patios, sidewalks, and commercial walkways where aesthetics and safety matter.
Essential Materials and Tools You'll Need

Successfully creating exposed aggregate concrete starts with preparing the proper materials and equipment. You'll need a concrete mix with the right aggregate-to-cement ratio, typically a 3,000 to 4,000 PSI mix for residential applications.
Aggregate selection is crucial. Choose stones that are clean, well-graded, and appropriately sized for your project. Popular options include river rock, crushed granite, and decorative pebbles. Essential tools include screeds, floats, brushes with varying stiffness, a garden hose with an adjustable nozzle, and a surface retarder if you're using the chemical exposure method.
Step-by-Step Process for Creating Exposed Aggregate Surfaces
Create beautiful exposed aggregate finishes with these steps:
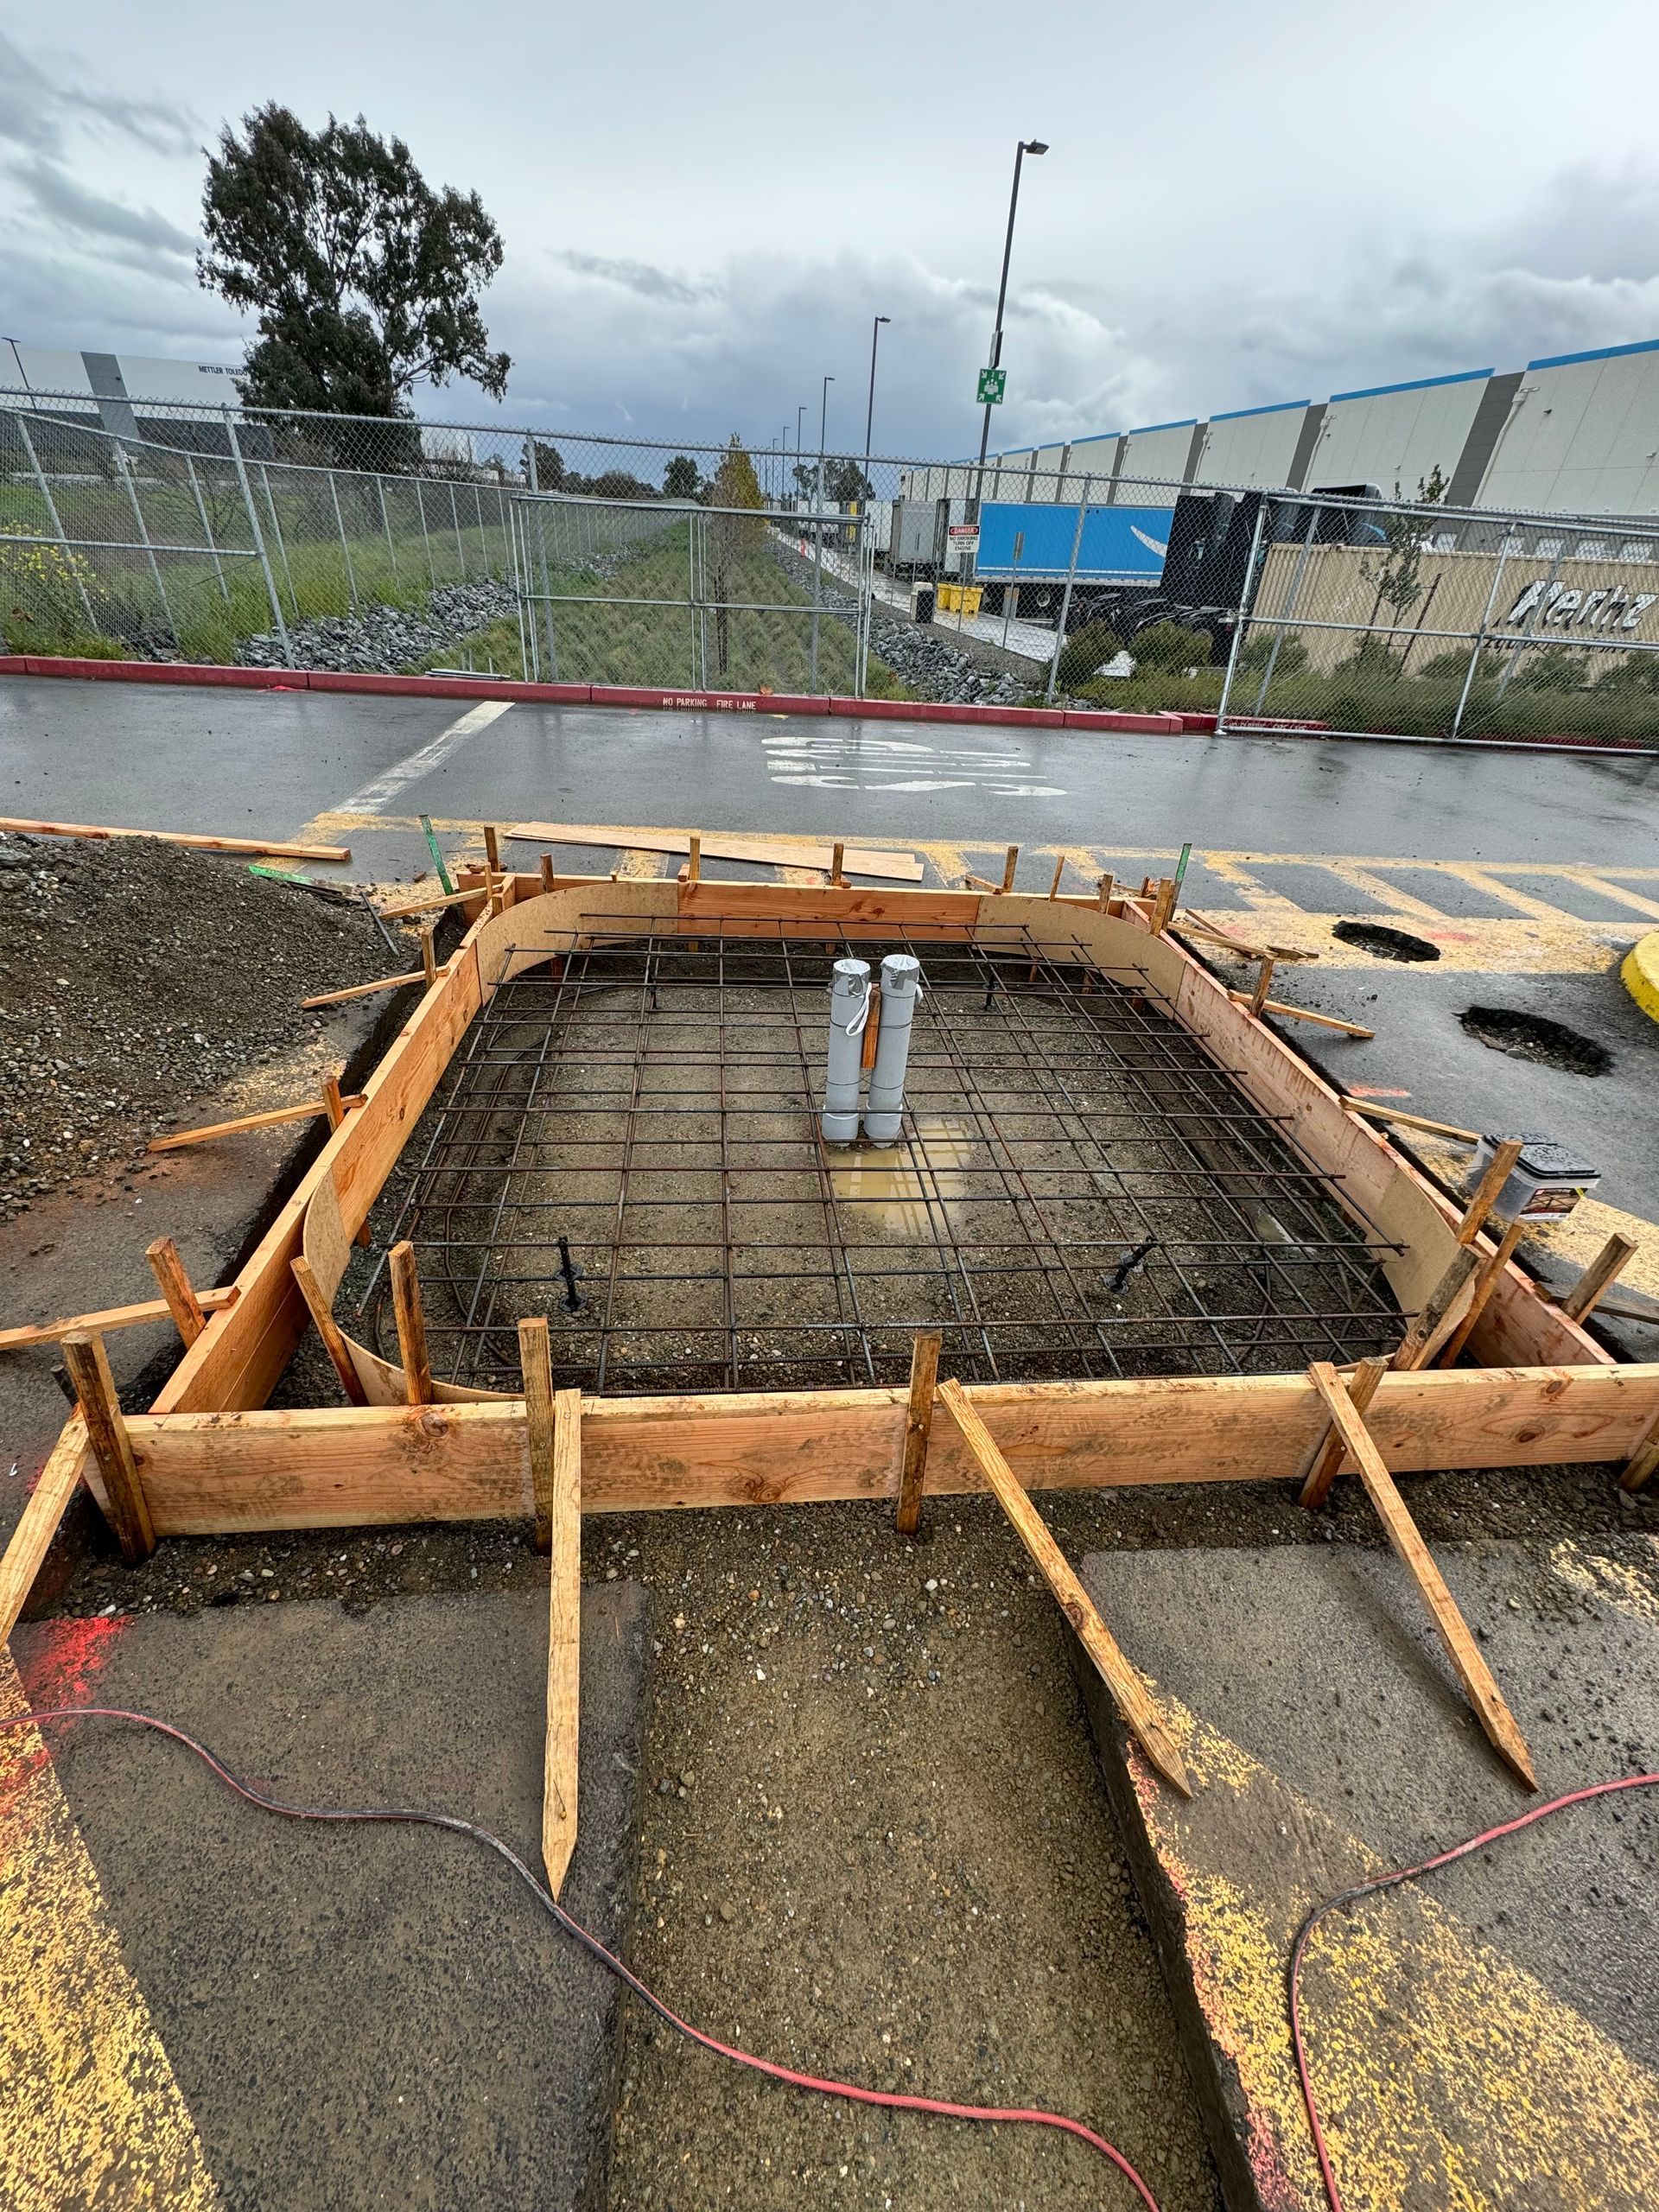
Step 1: Prepare the Site
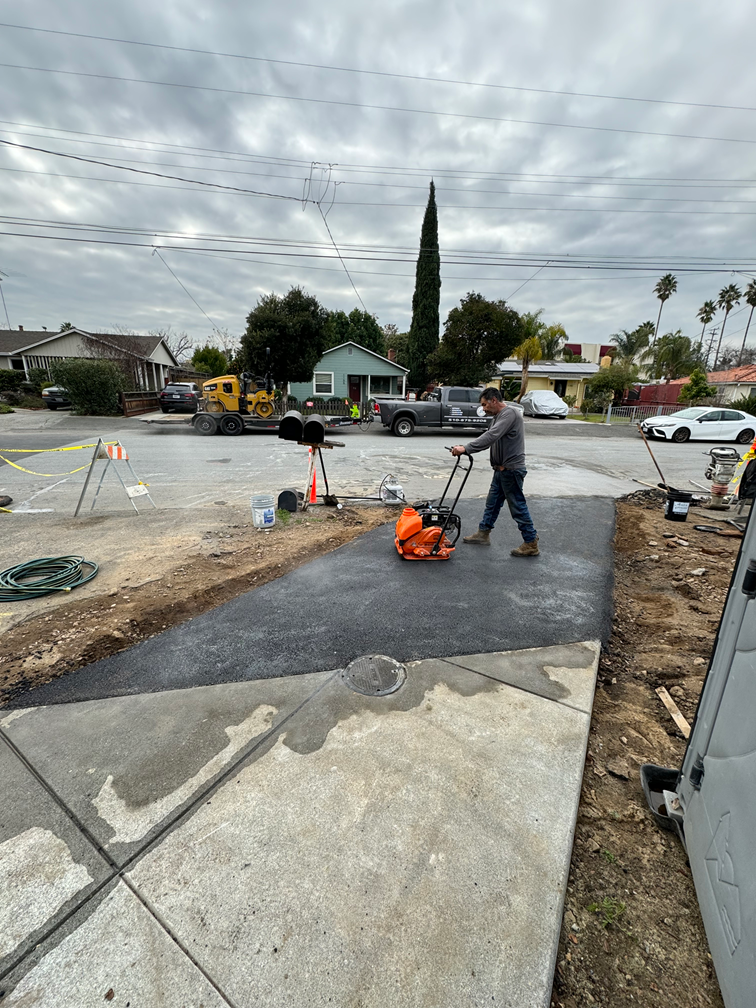
Excavate the area (4 to 6 inches is usually sufficient for most residential driveways). Add and compact your base material (typically gravel), then set up your forms to create the right slope for water runoff. Make sure water can drain away from the concrete. In areas with moisture concerns, lay down a plastic vapor barrier before pouring.
Step 2: Pour the Mix and Level the Surface
Pour the concrete mix evenly, maintaining a consistent thickness. Use screeds to level the surface, working systematically to avoid low spots or ridges. The concrete should have a slump of 3 to 4 inches for proper workability and structural integrity.
Step 3: Add Aggregate and Embed the Stones
For the seeding method, broadcast decorative aggregate evenly across the fresh concrete immediately after screeding. Use a float to gently embed stones until they're flush with the surface, ensuring complete coverage without overworking the mix.
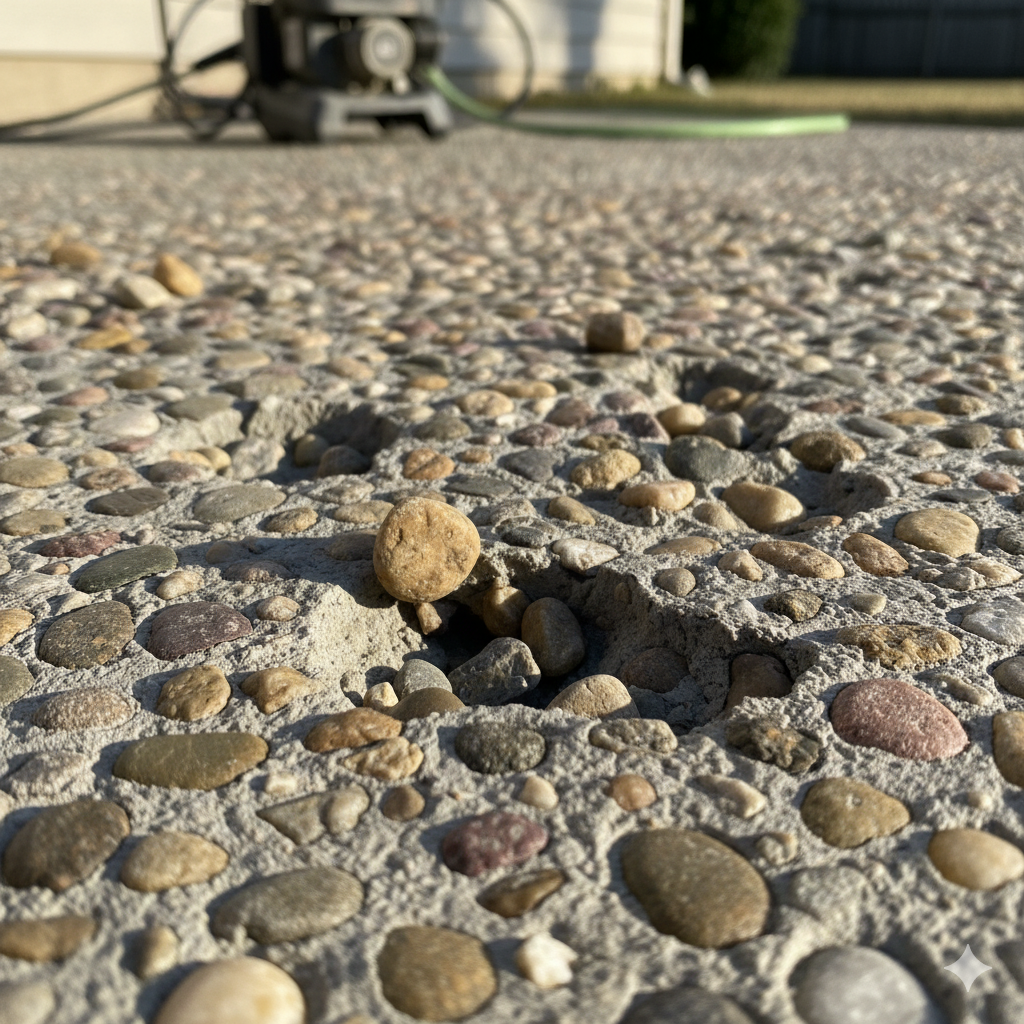
Step 4: Critical Timing: When and How to Expose
The timing for aggregate exposure–or the removal of the thin layer of cement that forms on the surface–is absolutely critical and depends on temperature, humidity, and wind conditions. In typical Bay Area weather, exposure usually occurs 2 to 6 hours after pouring. Test the cement’s readiness by lightly brushing a small area. The aggregate should be firmly in place while the surface paste can be easily removed.
Step 5: Final Washing and Finishing
When the time is right, use a concrete surface retarder or carefully begin washing the surface with a garden hose and a stiff brush. Remove the surface cement paste gradually, working systematically across the surface. Avoid over-washing since it can loosen the aggregate or create uneven exposure.
For additional protection and easier maintenance, apply a quality concrete sealer 28 days after installation, then reapply every 2 to 3 years.
5 Costly Mistakes That Ruin DIY Projects (And What It Takes to Fix Them)
Here’s what usually goes wrong, and what it takes to make it right:
- Wrong Timing on Exposure: Start washing too early, and stones pop out; wait too long, and the surface locks up. Avoid this by using a surface retarder and testing small sections as you go.
- Over-Washing: Too much water or pressure weakens the surface. Use a gentle flow and work in controlled sections instead.
- Uneven Aggregate Distribution: Bald spots and weak areas from uneven seeding. Pre-measure your seeding rate and embed evenly to prevent this.
- Wrong Concrete Mix: Understrength or poorly bonded concrete that fails early. Order an exposed-aggregate-ready mix and avoid extra water.
- Poor Protection During Curing: Sun and wind dry the surface too fast, causing scaling. Make it a point to cure immediately and shield the surface from heat and wind.
Portillo’s Paving Co.: Partner With Bay Area Concrete Experts
The techniques and timing we've outlined will significantly improve your chances of success, but don't hesitate to seek professional help when the stakes are high. At Portillo's Paving Co., we're always willing to help Bay Area homeowners achieve their concrete goals—whether through guidance, consultation, or complete project execution.
When it comes to exposed aggregate, precision matters.
Partner with Portillo’s Paving Co. for results you’ll be proud of.